In my previous tutorial, we got set up with Godot, created a simple project, and learned how to wire up some UI elements to code and then tested it out. If you haven’t already gone through that tutorial, please take a pause here and go get things set up, as I’m going to assume you’ve completed it, and that you have some code already built.
Ready to continue? Awesome! First off, let’s re-open Godot. ( Already at RC1!) You should see something like this:
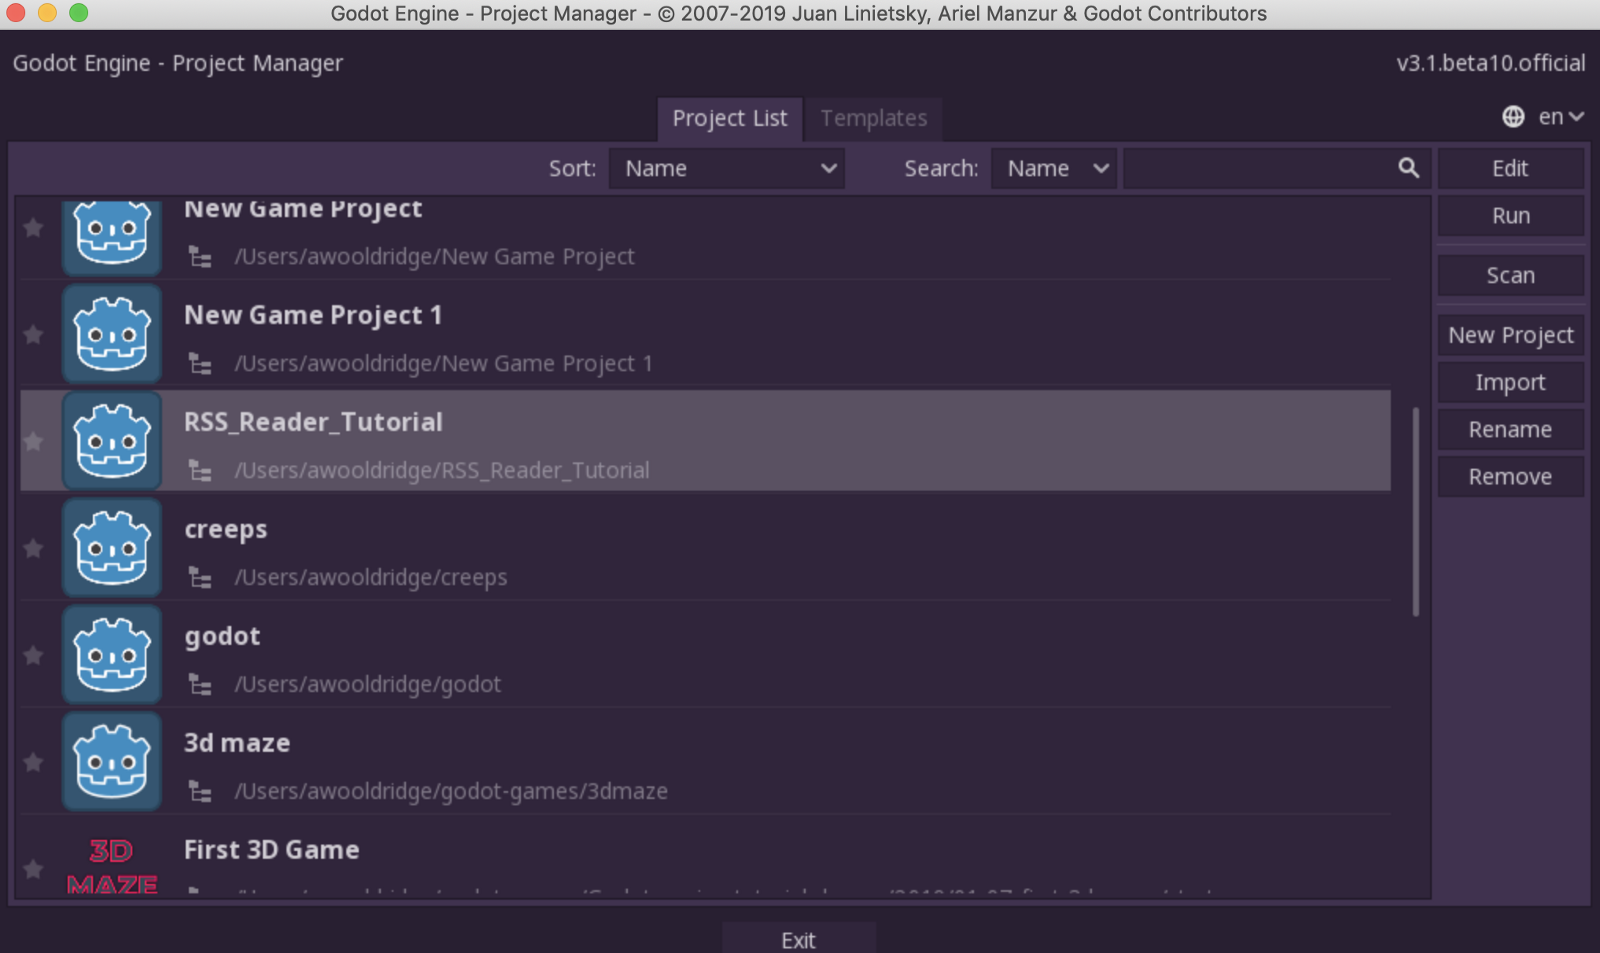
Choose the project and hit “Edit”.
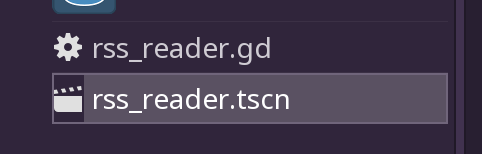
You might notice — if you’ve updated your Godot lately that you’ll start out with the generic 3D screen. Just go down to the bottom left and click your scene file:
Let’s go ahead and open that, and this time in the upper right hand side, click the big “Play” button. You’ll probably see something like this:
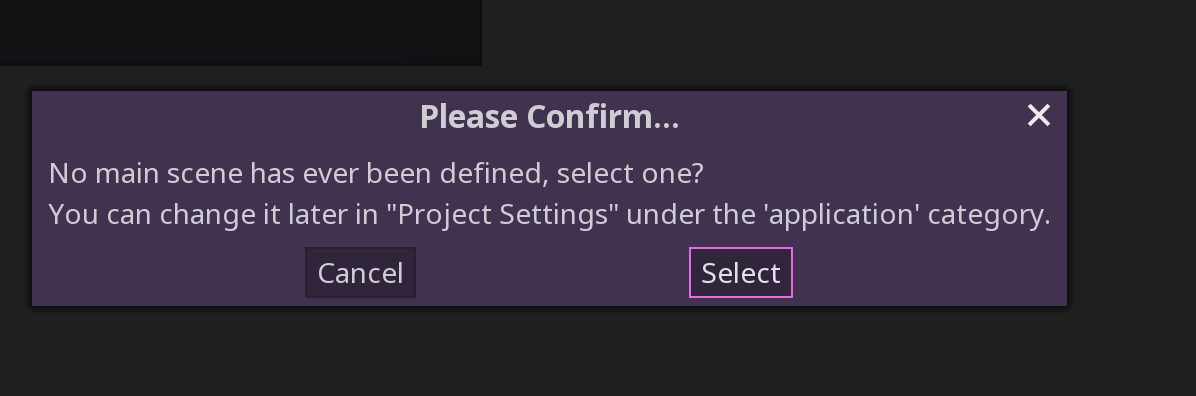 We haven’t picked a default scene yet.
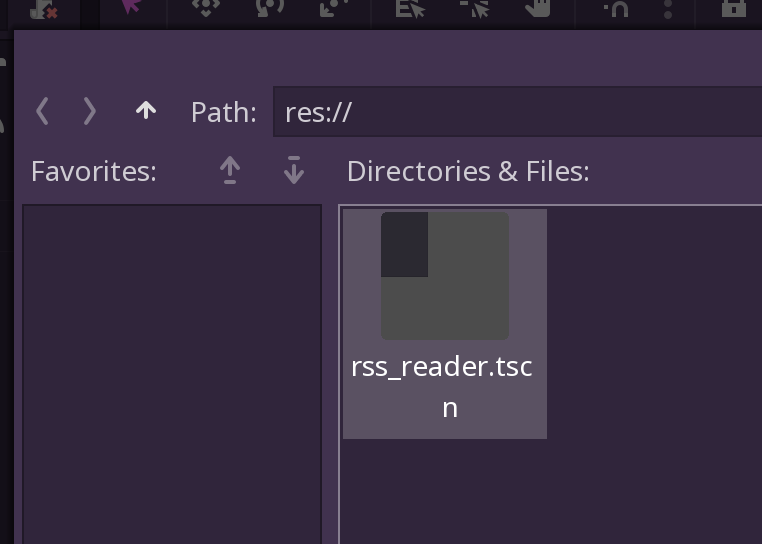
Pick your one and only scene next.
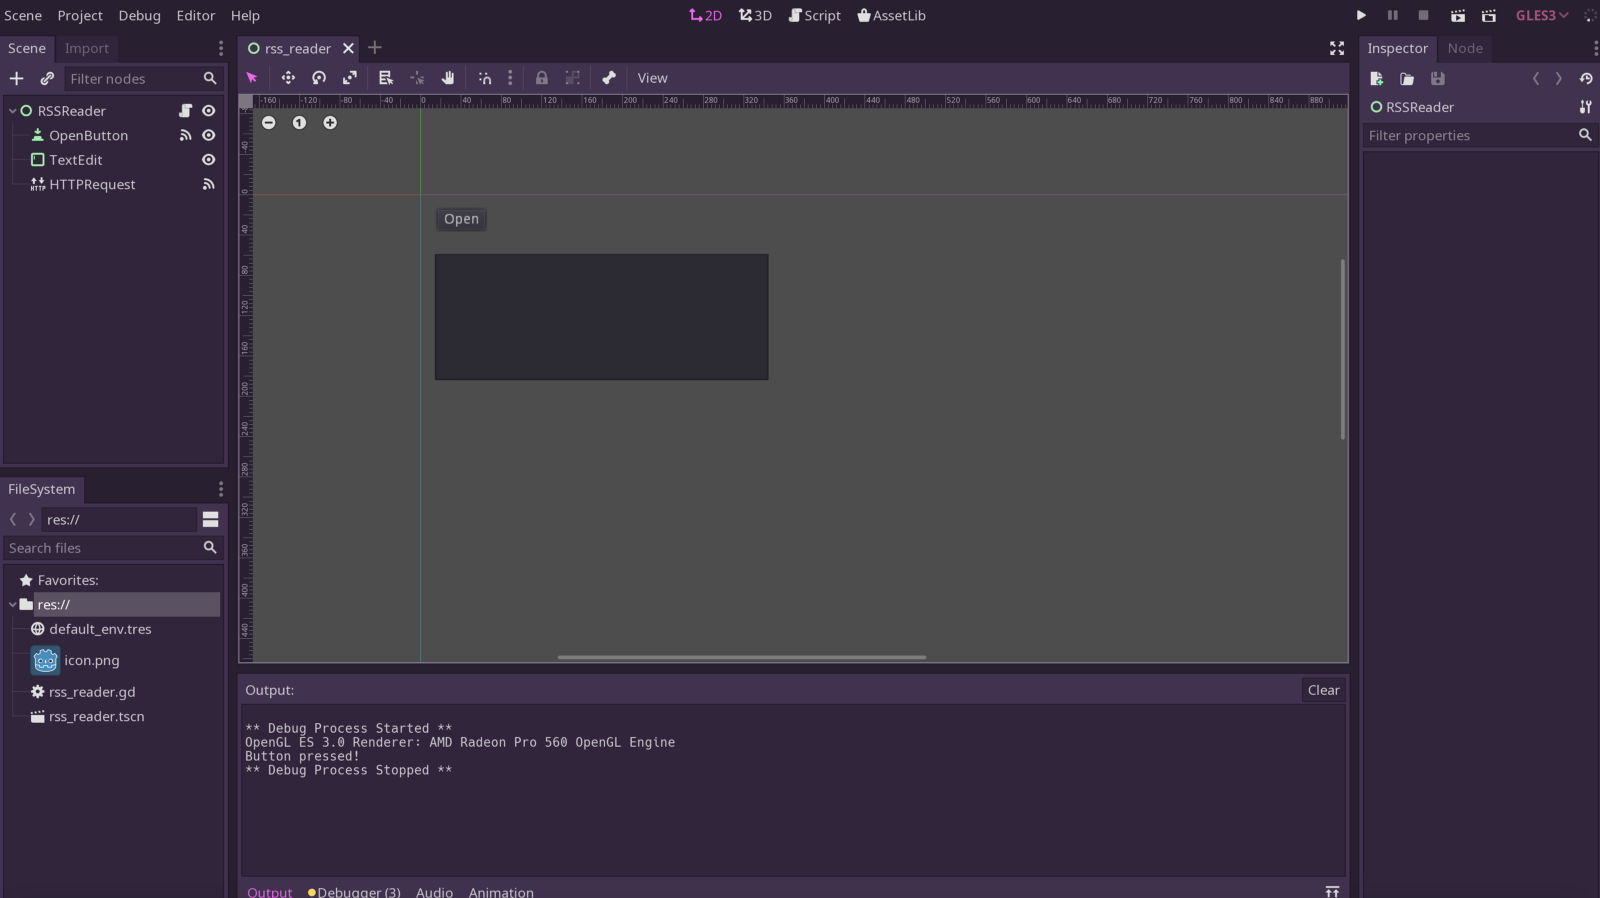
We should be back to where we were before:
 Let’s get started!
For Part 2, we are going to explore something called the XMLParser component, to read the XML we get from an RSS web request and put it into tokens we can render to the screen. You can read more about how the XMLParser works here. To be honest, it was pretty counterintuitive to me when I first started reading about it. This parser is very low level, and is intended to be a basis for other parsers to build upon.
Basically you set up a while loop, read in lines of text. For each “read” that you do, you are basically stepping through the tags of the XML like a sort of pointer into an array of elements. However, instead of it building some nice JSON like tree of elements, it just sorta slides along the XML and tells you what tag you are on, and doesn’t even have a concept of containing elements. It just jumps from one tag ( either open or close ) to the next.
Coming from a web development background, this really tripped me up, but I guess since it’s so low level developers like me normally wouldn’t use this. But — as of right now — I don’t know of a specialized RSSParser object. Perhaps this will be a topic for a future tutorial 😺.
So, let’s get started.
We will continue from the function we set up to trigger after a response has returned:
 parse that body!
We will create a new instance of XMLParser through XMLParser.new() and pass
into it the body byte array through p.open_buffer(body). It’s probably no
coincidence that the body object passed into the callback is the right type to
pass into the XMLParser, since we are often dealing with HTML and XML via HTTP
requests.
Let’s take a moment an look at the structure of the XML we are reading. Typically, you’ll see something like this :
 Screenshot made from
https://www.w3schools.com/XML/xml_rss.asp
Screenshot made from
https://www.w3schools.com/XML/xml_rss.asp
You’ll see we have a <channel> element that contains <item> elements which
in turn contain <title>, <link>, and <description> tags. Our parser needs
to understand when we are inside an item, title, etc. and grab the contents
of those tags and put them somewhere interesting.
Let’s build a simple state machine that we will use to give our code some idea which tag we are inside at any given moment. This way we can know when to pull out the information for each element and place it in a list.
Let’s add some simple boolean checks to see which tag we are within while parsing the XML.
var in_item_node = false
var in_title_node = false
var in_description_node = false
var in_link_node = false
How this parser seems to work is you set up a while loop, check to see if the
current line read was successful ( p.read() == OK ), then check the properties
of the current focused “element”.
Here’s some example code:
while p.read() == OK:
  var node_name = p.get_node_name()
  var node_data = p.get_node_data()
  var node_type = p.get_node_type()

  print("node_name: " + node_name)
  print("node_data: " + node_data)
  print("node_type: " + node_data)
As you see above, for each read() call, we shift the focus forward in the XML
file to the next element. From there, we inspect that element ( or tag) and pull
things out like the node name, the node “data” (contents) or node type.
If you look back in the documentation, you’ll see that the node type is an ENUM which tells you if you are in a tag, or a text element, a CDATA element, etc.:
enum NodeType:
NODE_NONE = 0 — There’s no node (no file or buffer opened)
NODE_ELEMENT = 1 — Element (tag)
NODE_ELEMENT_END = 2 — End of element
NODE_TEXT = 3 — Text node
NODE_COMMENT = 4 — Comment node
NODE_CDATA = 5 — CDATA content
NODE_UNKNOWN = 6 — Unknown node
Once you get this set up in your own script, compare it to what I have for mine:
 What we have so far
Launch your scene with the arrow button in the upper right and click the “Open” button. Observe your Output: field in the Godot editor. As you scroll through that you should get a better sense of that this XML parser is doing.
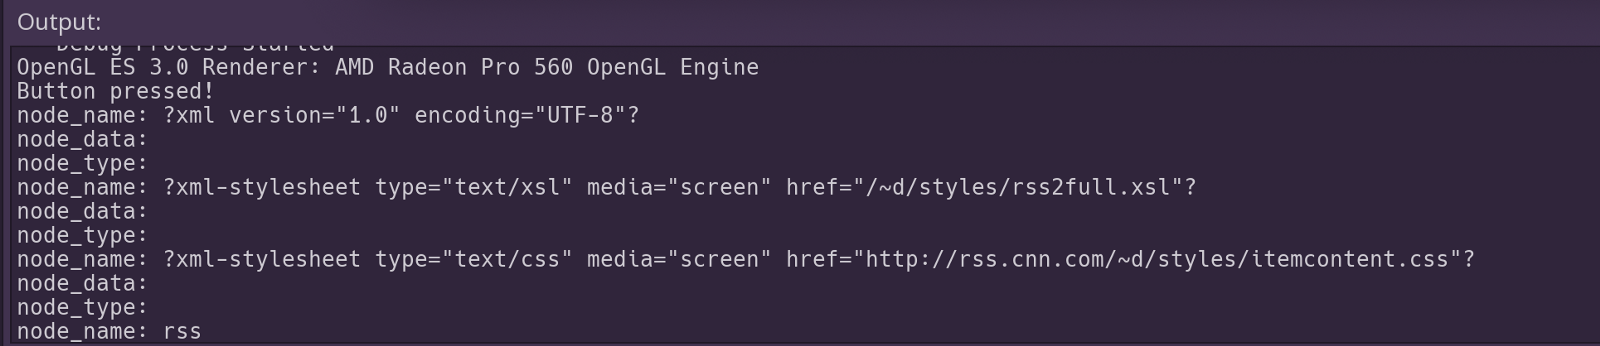 The XMLParser in action!
It’s basically treating the XML code like a flat array of elements — not even pairing up matching tags, but just taking node of them as it moves down the file. So, that means we have to keep track of when we are “inside” a tag, and when we’ve “passed out” of it to another tag on our own.
Yeah, it’s kinda annoying, but this parser is not making any assumptions about how you want to treat your XML data, so it’s not so bad.
You might also notice that your debugger is freaking out and spitting out tons of errors:
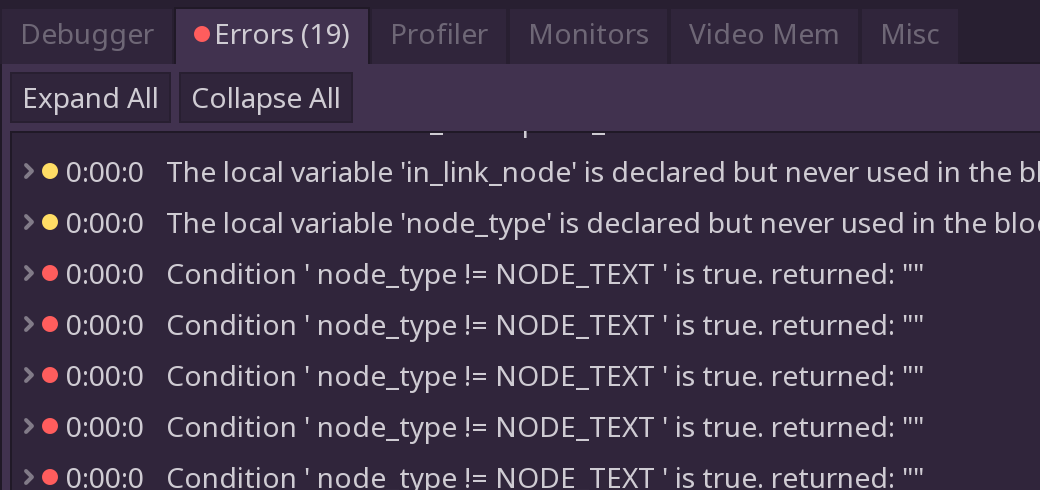 What? So many errors!
For the sake of our simple application, we can ignore these for the time being. It will not affect the parser’s ability to do what we want. In cases like this, play around with the code and see why this is happening. It will deepen your understanding of the api’s and you might learn a bit more about how Godot works on your own.
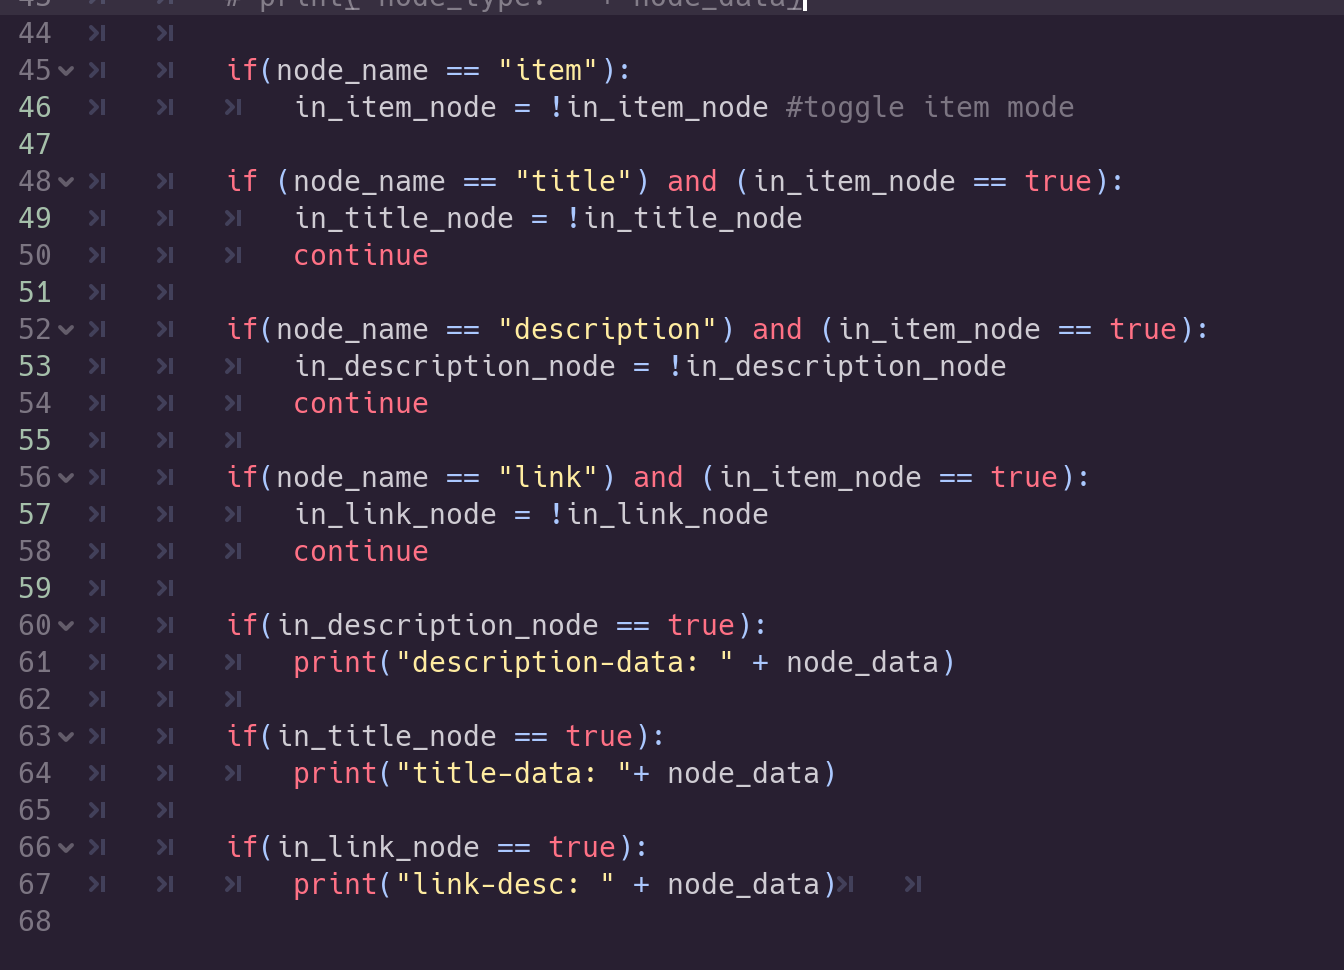
Let’s add some logic in our script to understand what state we are in while parsing this RSS so we can act appropriately:
if(node_name == "item"):
   in_item_node = !in_item_node #toggle item mode
if (node_name == "title") and (in_item_node == true):
   in_title_node = !in_title_node
   continue
if(node_name == "description") and (in_item_node == true):
   in_description_node = !in_description_node
   continue
if(node_name == "link") and (in_item_node == true):
   in_link_node = !in_link_node
   continue
The first conditional checks to see if we have hit an <item> tag and sets the
flag. Notice that since we toggle this value to its opposite, it will start off
false, hit this conditional, get set to true, then later on when we hit
the closing </item> tag, the conditional will get set back to false.
After adding this, let’s print out some things to verify that we are getting the right information:
Let’s run this code and see what we get in the Output window. ( I commented out the previous print statements so they don’t interfere with our current ones.
 Hmm, something’s missing
So, it’s working, sorta. We see that we are walking through the <item> ‘s and
getting some things, like the link URLs, but somehow we are missing the title
and descriptions. The reason for this is that some RSS feeds place this
information inside CDATA and some are just children of the tags. We will fix
this, but first let’s create some arrays to hold our collected <item>’s. We’ll
place them at the top of the script so that they are available to all our
functions.
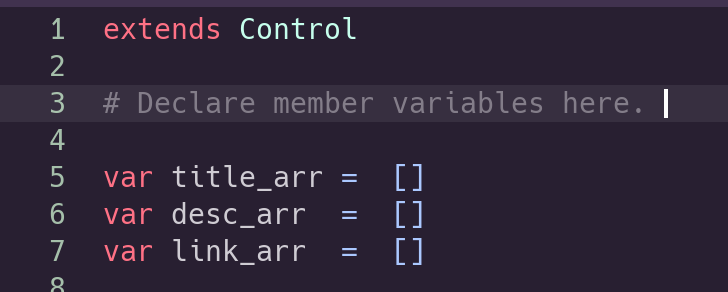 Some arrays to store our items
You could have decided to store these values together in a different array — like a 2D array of items which in turn has arrays of title, description, and link. For the purposes of this tutorial, let’s go with this simpler method.
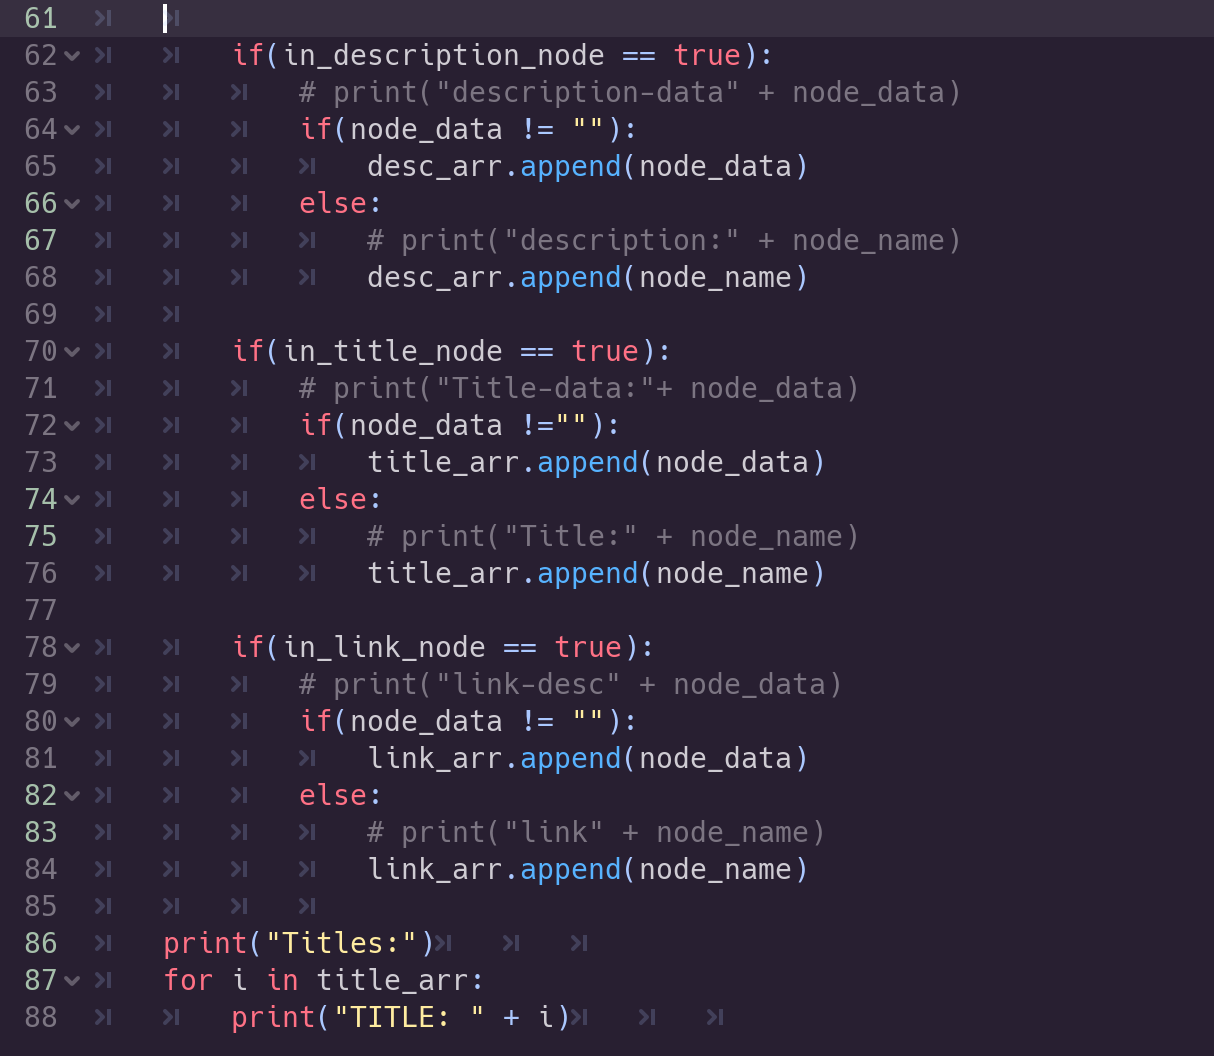
We will rewrite our script to deal with the CDATA issue, as well as place our grabbed values into the appropriate array entry:
if(in_description_node == true):
   # print("description-data" + node_data)
   if(node_data != ""):
      desc_arr.append(node_data)
   else:
      # print("description:" + node_name)
      desc_arr.append(node_name)

if(in_title_node == true):
   # print("Title-data:"+ node_data)
   if(node_data !=""):
      title_arr.append(node_data)
   else:
      # print("Title:" + node_name)
      title_arr.append(node_name)

if(in_link_node == true):
   # print("link-desc" + node_data)
   if(node_data != ""):
      link_arr.append(node_data)
   else:
      # print("link" + node_name)
      link_arr.append(node_name)
Finally, we are done with that while loop! We have a nice array of items now with titles, descriptions, and links to use for our RSS reader.
Let’s add a little loop to check our titles array and print out the results in the Output:
 Did we get some titles?
Hopefully, if you are using the same RSS feed as I, you’ll see something in the Output field similar to this:
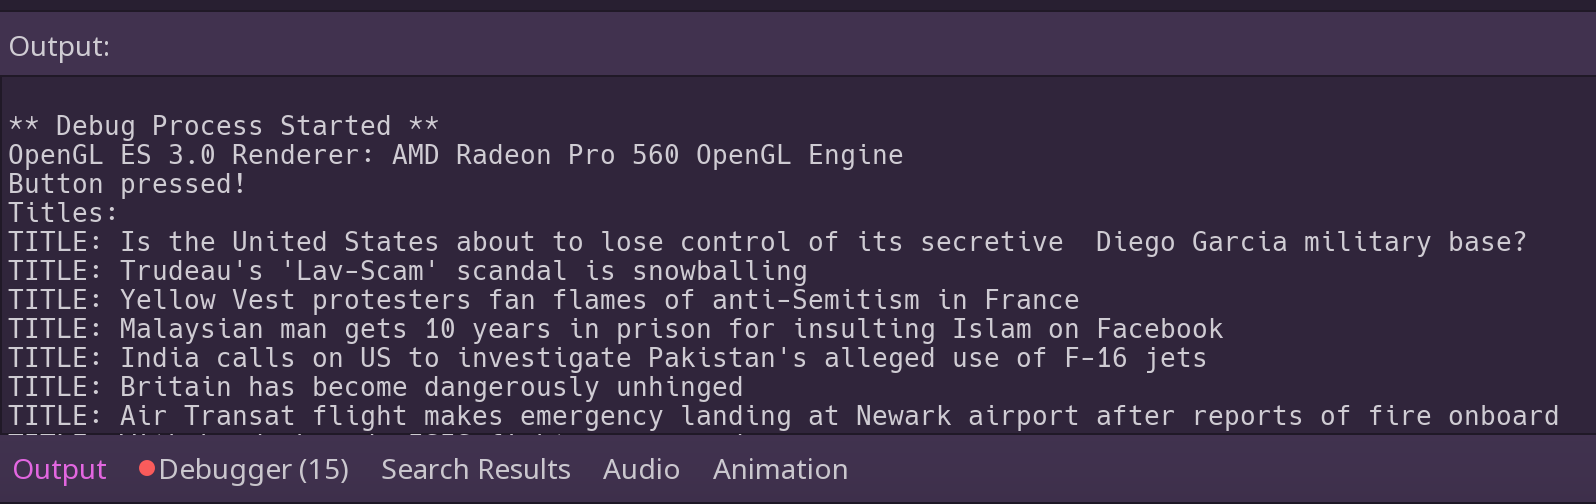 We got titles!
I highly recommend this method of testing your code. It’s like using
console.log in JavaScript. Write your methods, print out some values to the
Output field and check that what you are trying to do is working. This is a
common practice in building things in Godot, so use print as much as you can!
Next up, let’s add this information to our UI!
Go back to the 2D view and select the top level node ( “RSSReader”). Hit the plus button and type in the search field “item” to jump to a UI element called an itemList:
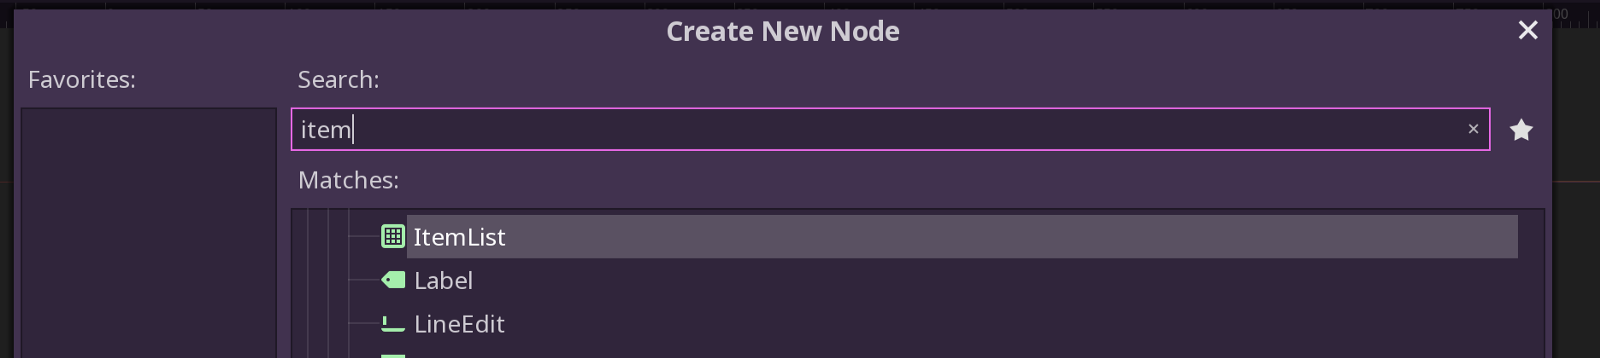 Lets list our RSS stories!
Move your TextEdit field down and out of the way — it will eventually be removed, but for debugging, let’s keep it — and resize your new ItemList to be a bit bigger and under your “Open” button. Here’s what I have:
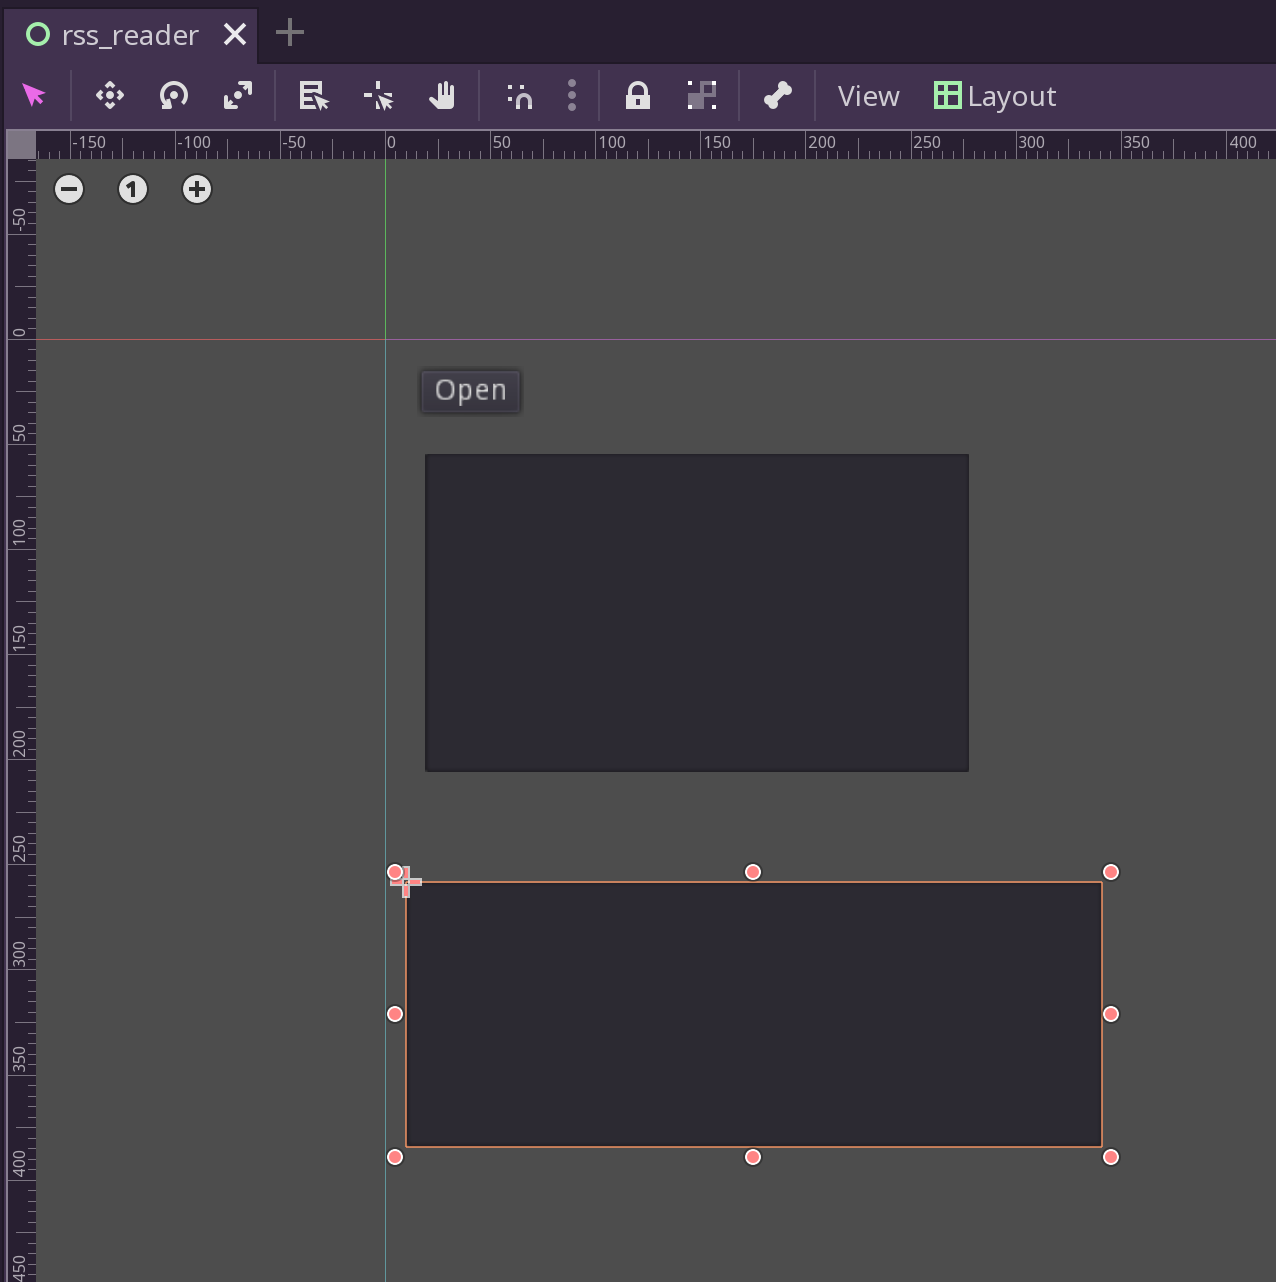 Our future list of stories
Take this opportunity to go to the Help dropdown, search for ItemList and read its properties and methods to get an idea how it works.
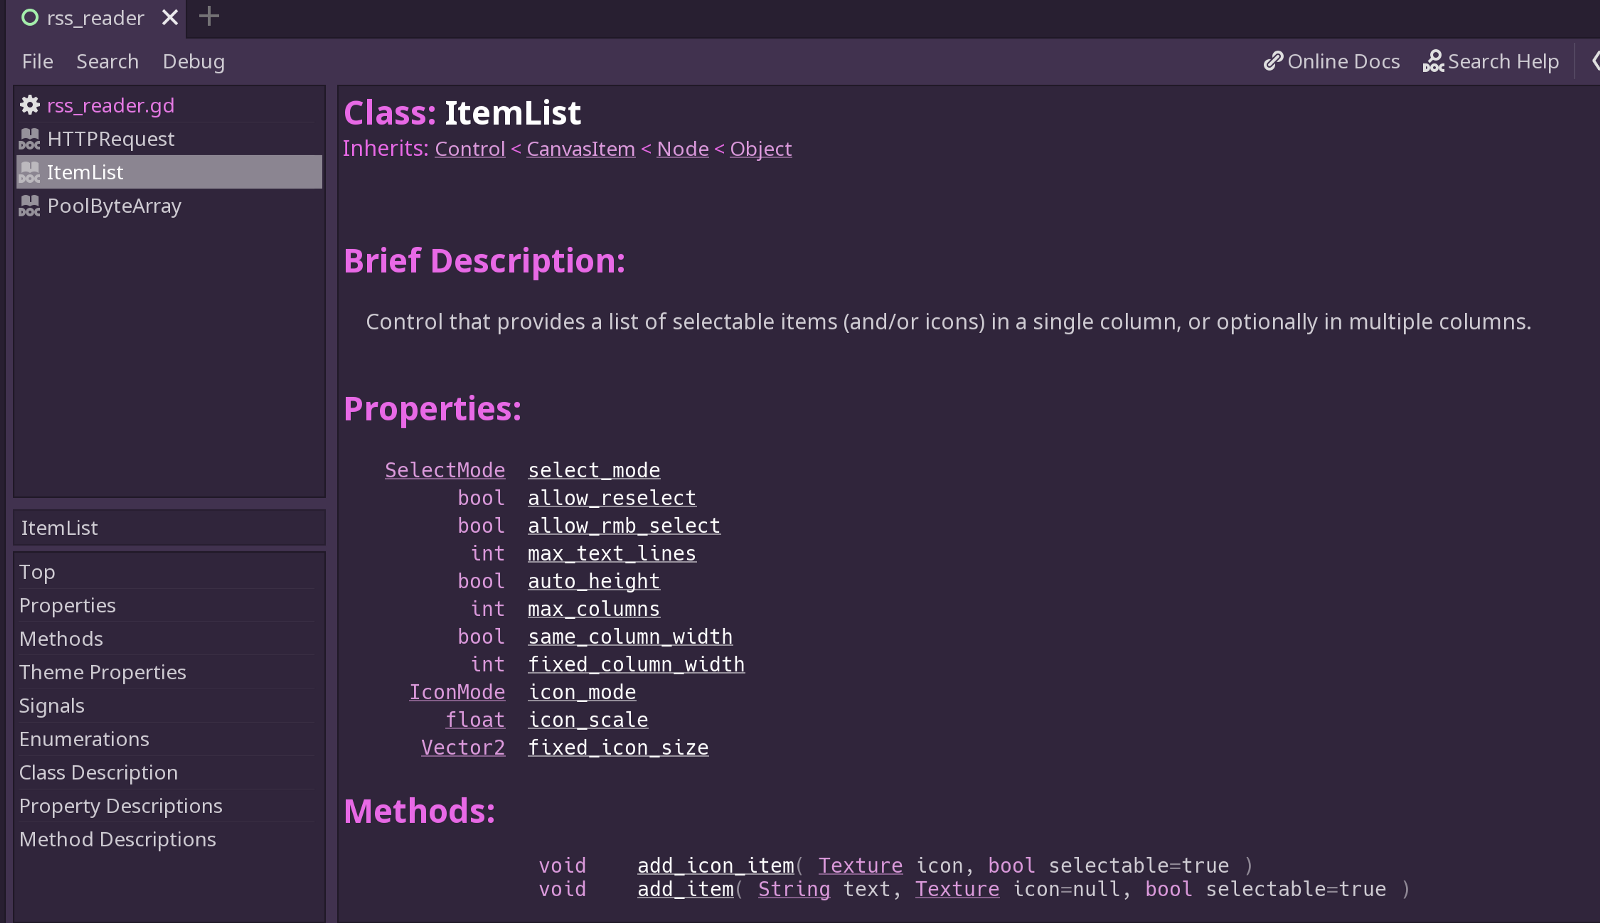 All about ItemLists
If we look at the methods, we can look up add_item and see how it works:
void add_item( String text, Texture icon=null, bool selectable=true )
Adds an item to the item list with specified text. Specify an icon of null for a list item with no icon.If selectable is true the list item will be selectable.
With this knowledge, let’s populate our ItemList with our item titles.
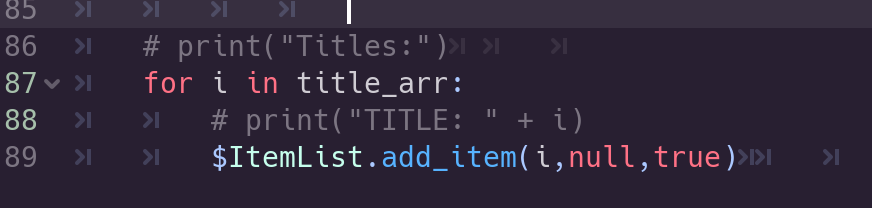 Populating our ItemList
Are you still with me? If something has gone wrong, be sure to carefully check
your code for errors, add print all over the place, and make sure you have
indented your code properly.
If all goes well, you should see something like this when you run your scene and click “Open”:
So cool! We have a clickable list of stories from our RSS feed. We are almost there in terms of basic functionality. We just need to be able to look at the longer description of each story, and click to view that story in a browser.
Back in the editor, add a new TextEdit field, and call it “DescriptionField”. Next, add a component called “LinkButton”. It will be an invisible box, but selectable from the 2D view. Move it below the two other fields but above our lowermost debug text field. Here’s what I got:
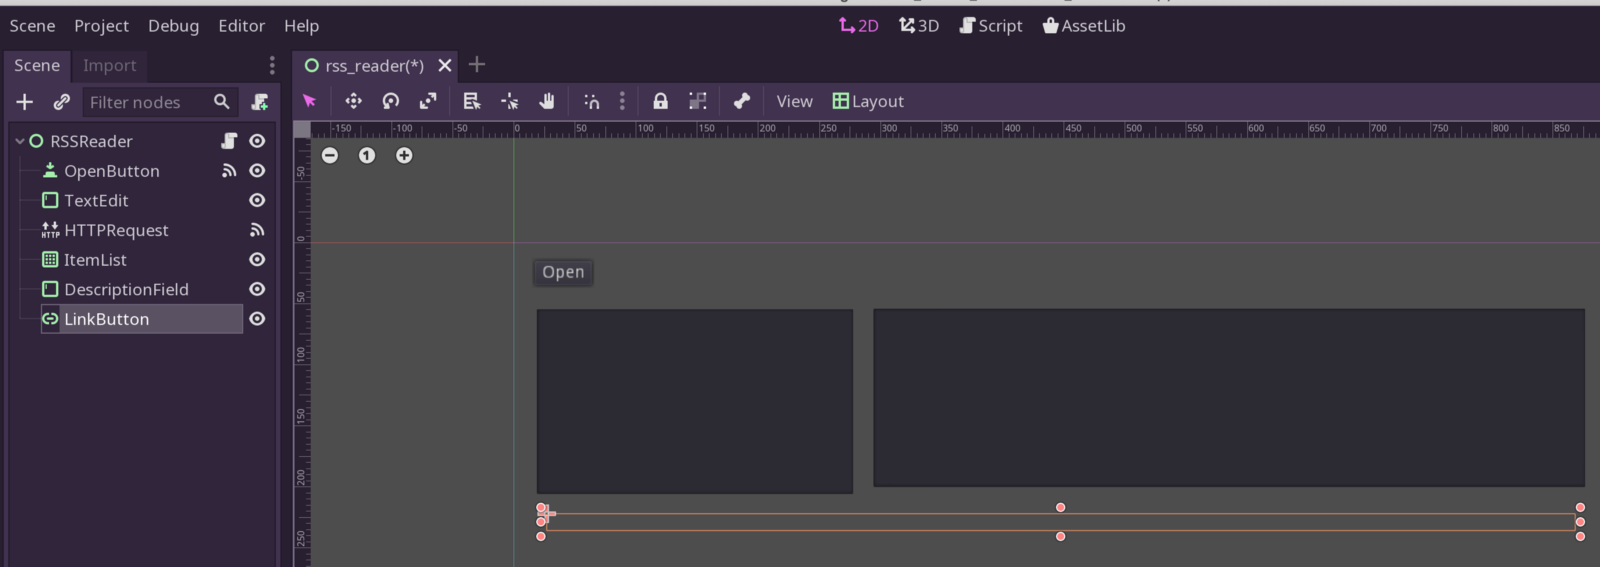 Almost there! DescriptionField and LinkButton added!
A LinkButton is a button without borders and is intended to look like a browser
link when you mouse over it and click it. We will populate the RSS item’s link
info there.
How will we display an item’s link and description? Easy peasy. The ItemList has events we can listen in on and trigger the display of content in our DescriptionField and LinkButton.
Click the ItemList element in the node tree and look to the Inspector panel on the far right. Click over to the Node tab. We want to choose the “item_selected” hook and add a connection in our script.
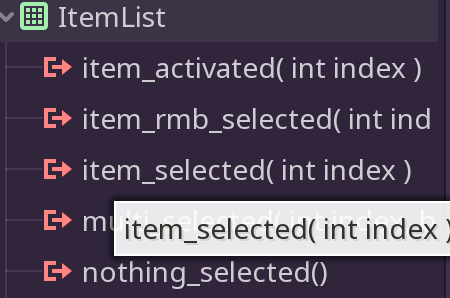 Hooking up the event
Remember how to hook up the event? You can double click the item_selected
event, or hit connect in the bottom right.
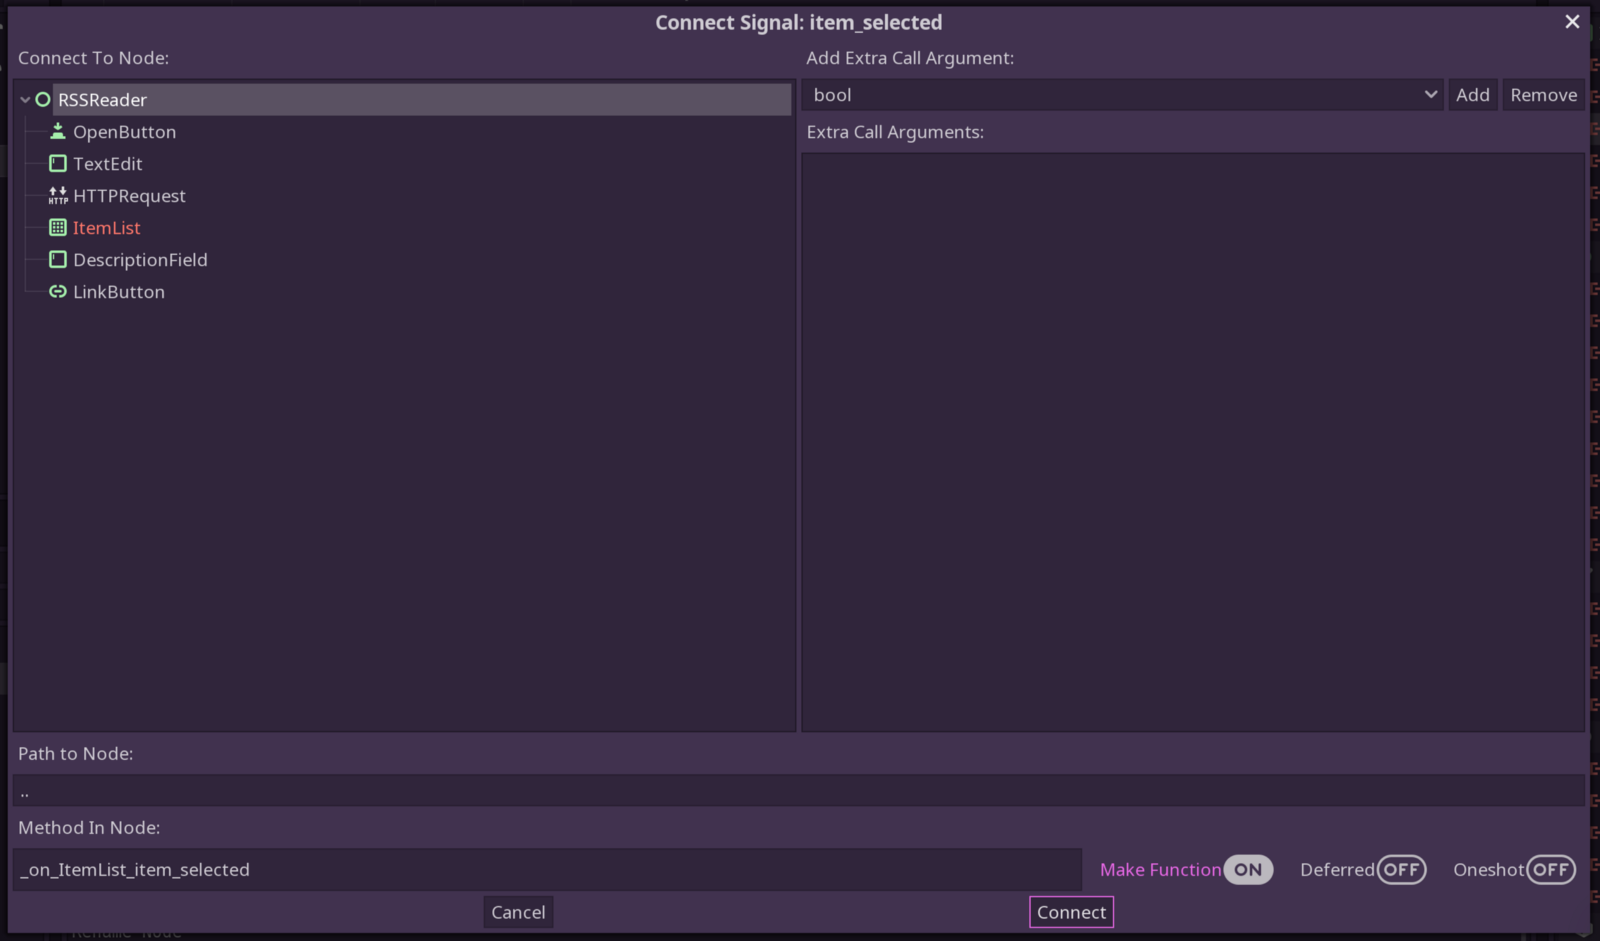 Make sure it’s all correctly configured.
After hitting “Connect”, you should see a new function created in your script.
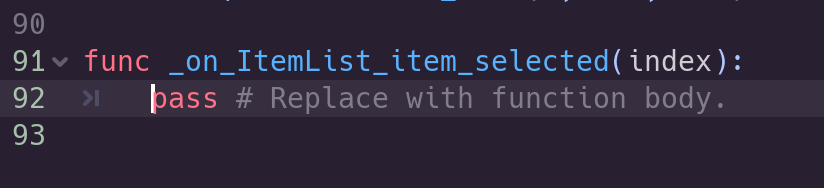 Our new hook
Every time you click or tab down in your ItemList this will be triggered. Since the order of items we rendered in this list is the same as the indices of the link and description arrays, it’s a simple matter of using that index we get in the function to show the corresponding text in the DescriptionField and LinkButton elements.
Let’s update our script like this below:
 Updating our new fields
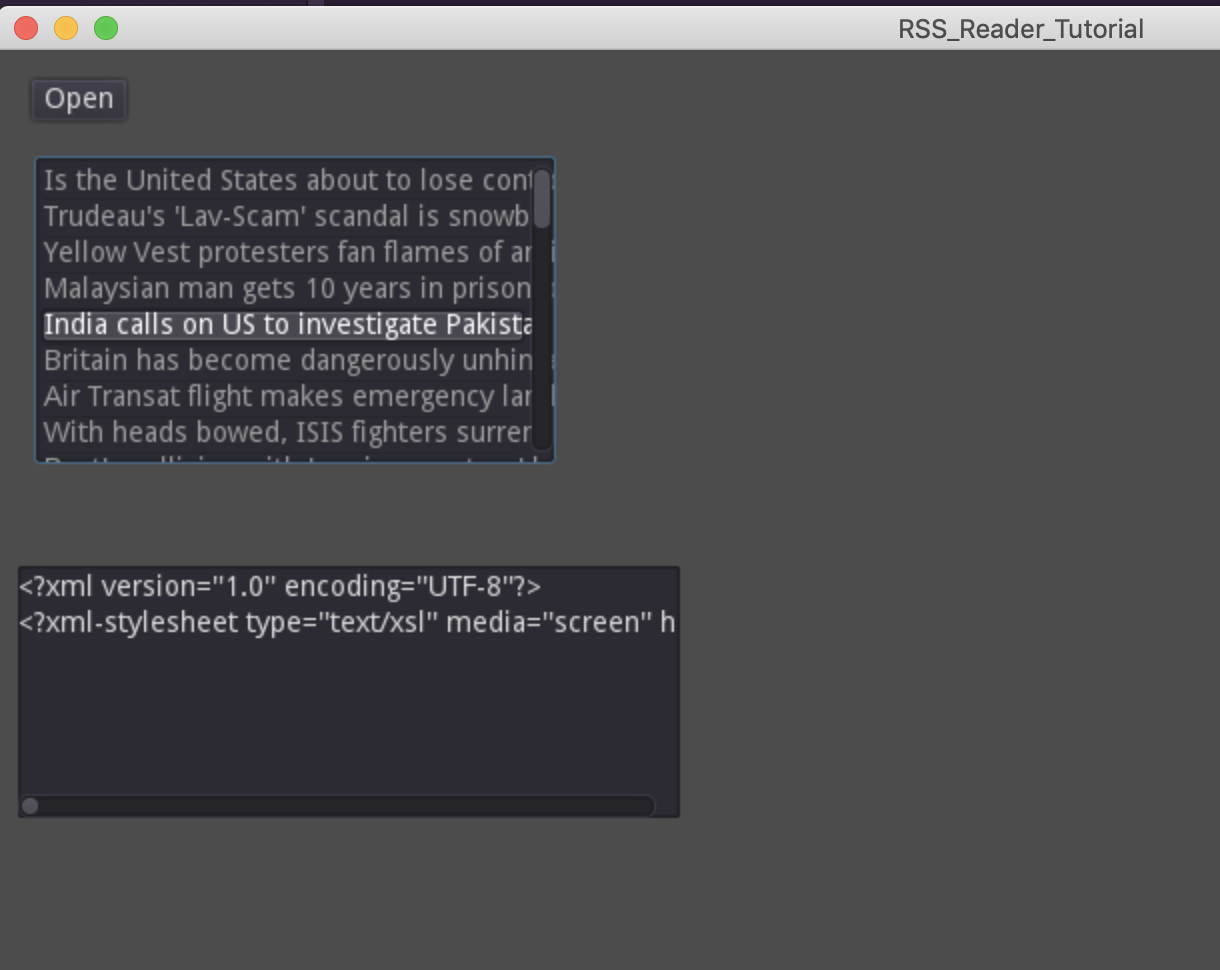
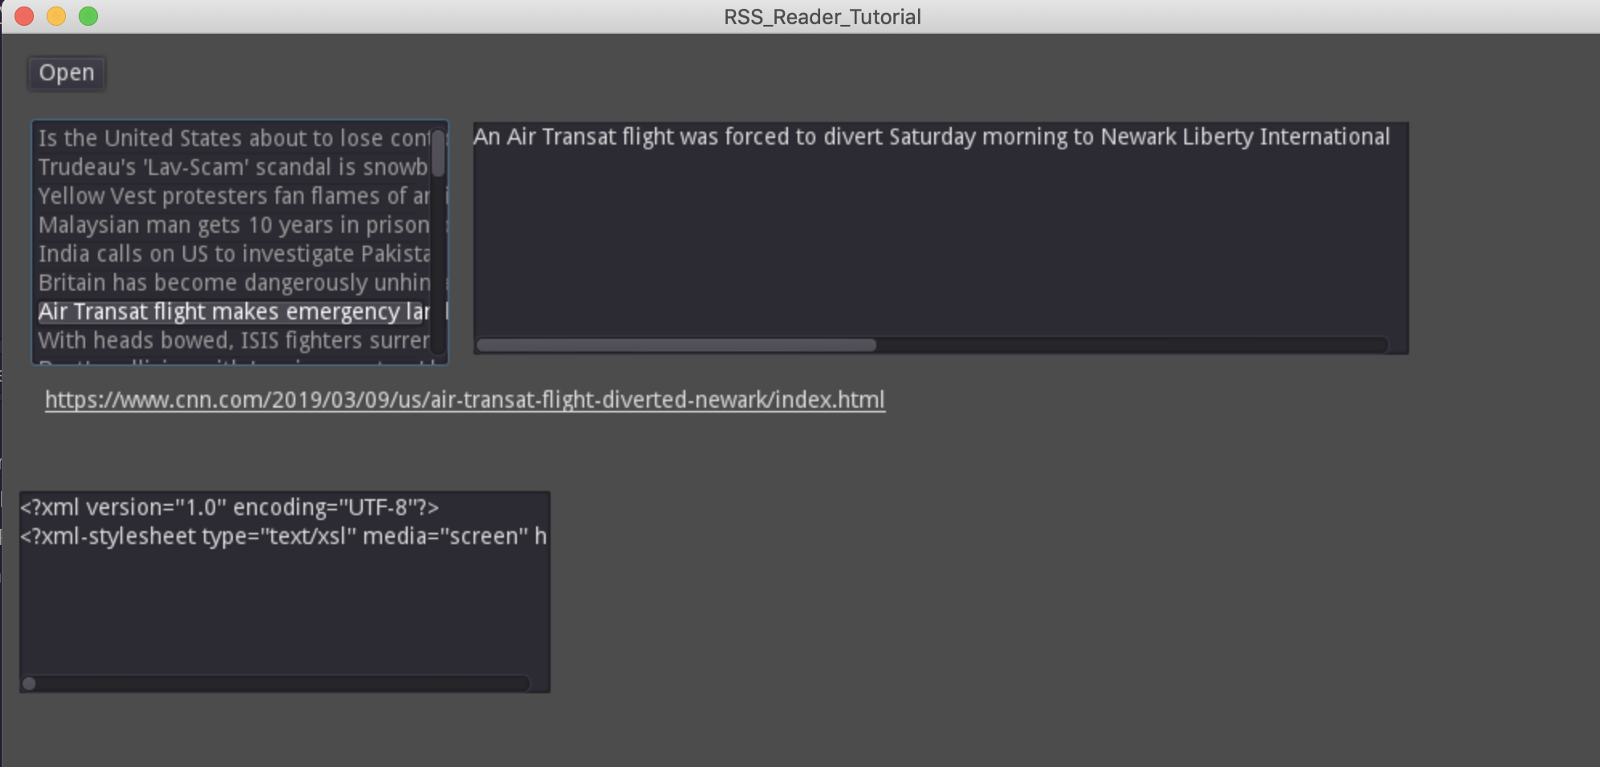
If all went well, you should be able to load up some feed items and click on the titles in the ItemList and see text in the DescriptionField and LinkButton elements like this:
 Well, it’s almost there.
However, you’ll immediately notice a problem. The text in our DescriptionField is not wrapping! Not very easy to read, and it’s not what we expected. Let’s fix that.
Click on the DescriptionField element and look at the Inspector. Scroll down till you find “Wrap Enabled”. Toggle that on, and reload your scene.
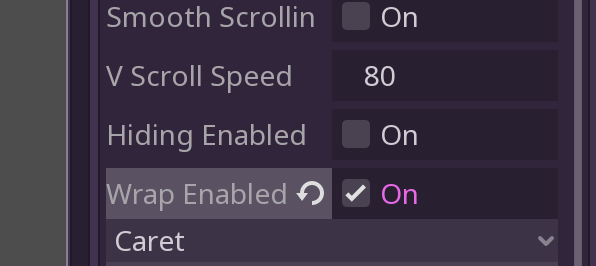 Wrap that text!
That looks much better!
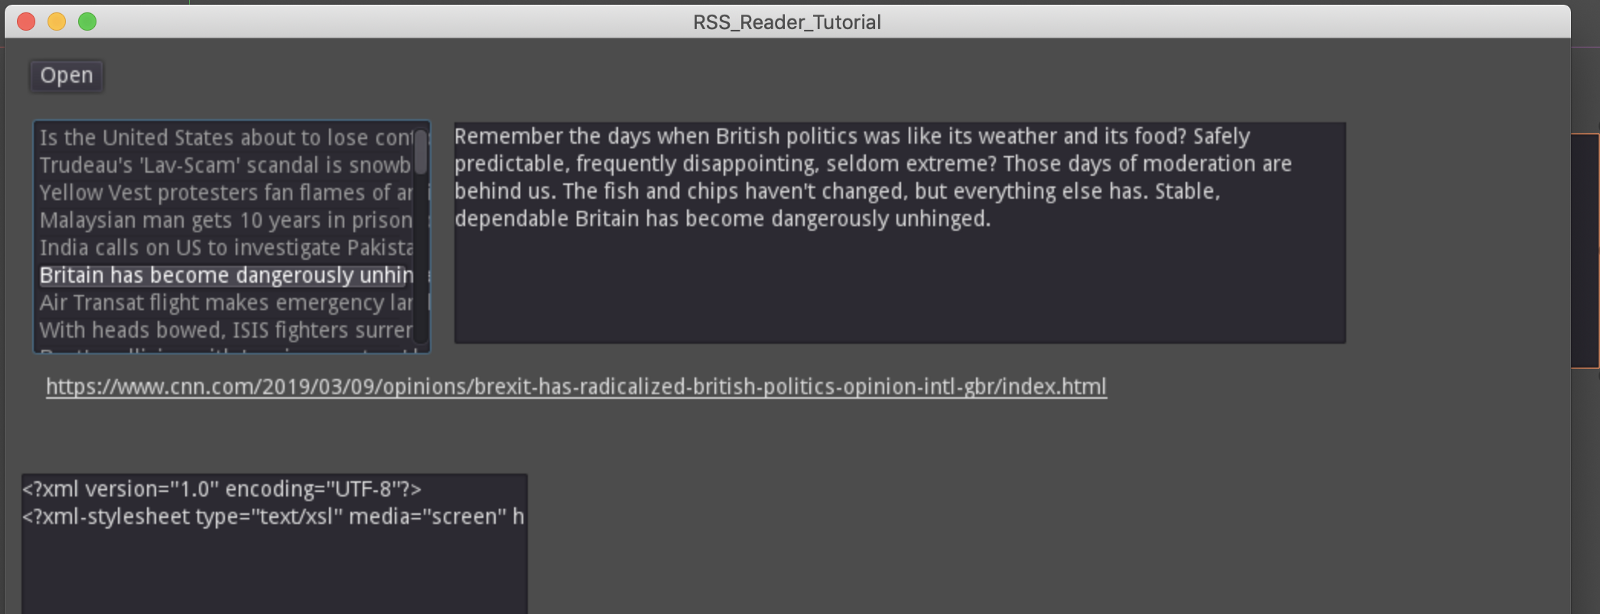 And, our link looks right!
You’ll also see that the story link shows up, and when you mouse over it, you’ll see a pointer, as if that link was a browser URL. But when you click on it, nothing happens. Why? Well Godot gives you components, and ways to hook into events, but does not assume behavior for you. You need to listen for the click event on that element and do some action.
Click on the LinkButton and add a listener for the pressed event.
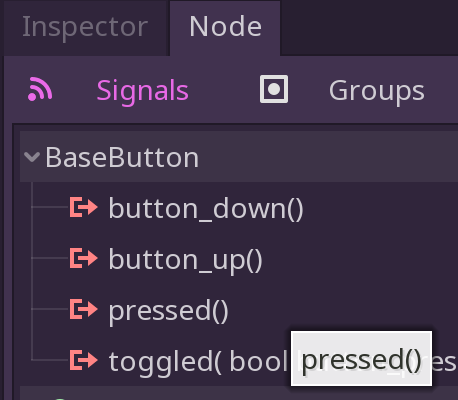 Listen for the pressed event
You should get a new function in your script that will execute when you click on
that link. Since we have the URL already as the text value of the button,
let’s use that to trigger our application to open a browser window with that
url.
Godot has this functionality built-in via the OS object.
Add this to your script, under that new function:
func _on_LinkButton_pressed():
   OS.shell_open($LinkButton.text)
If all goes well, you should be able to load the RSS, see the list of stories, read the description, and now click on the link to open a browser window with that story.
This is amazing! Godot is such a feature rich tool that not only can you build awesome 2D and 3D games, you can build simple and fun applications in it! Remember, the Godot Editor is — itself — a Godot game!
Note also with the ItemList you get things like tooltips for free! (This allows us to read the whole headline without making the item list too wide)
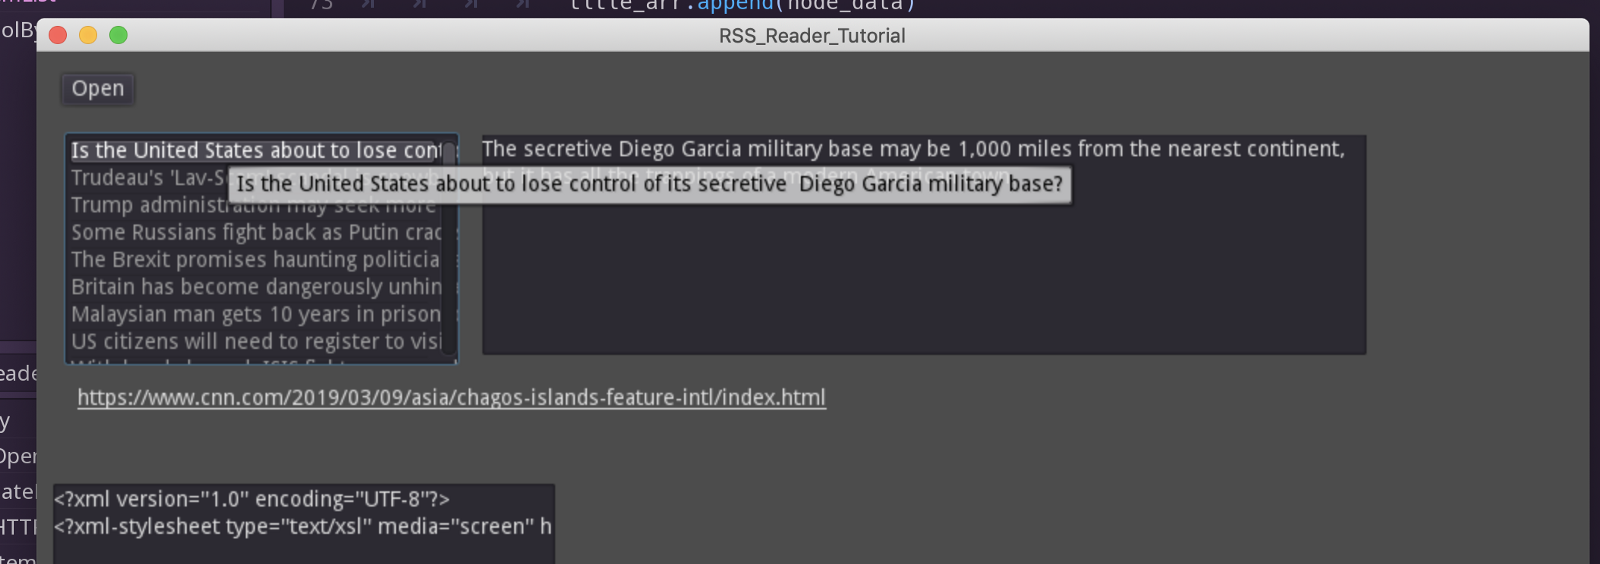 Free tooltips!
So, with Part 2 drawing to a close, we have added some major new functionality to our RSS reader. We can now parse XML, display it in lists, read multiline content, and act on data within it in meaningful ways! The core of a simple RSS reader is now complete.
In part 3, we will polish up our UI, and we will learn how to create a persistent setting that will allow us to change the RSS URL we set as default and be able to read that again when the app loads later.
I hope you enjoy these tutorials as I hope they give you an idea just how versatile and useful Godot can be. Please share this article with others if you feel it was useful, and I look forward to seeing you in Part 3!
If you want to follow along with the code, you can check out this repo: https://github.com/triptych/godot_reader_tutorial (it may have changes for Part 3 already)